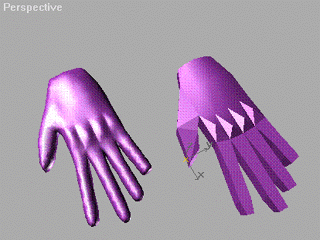
| This tutorial will show you how to use the MeshSmooth modifier and the Edit Mesh modifier's extrusion function to create a hand. This tutorial assume you know the basics of 3ds Max such as editing pivot point, applying modifiers, using the Edit Mesh modifier, and working with the stack. Hand.max is the final hand mesh that you should have at the end of the tutorial. This is the tutorial in Word 6.0 doc file. |
 |
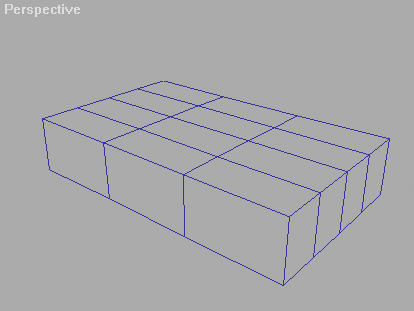
| To start create a box from the top view that has a Length of 90, Width of 150, and Height of 30. Set the box Length Segs to 4, Width Segs to 3, and Height Segs to 1. This box will serve as a base object that we will create our hand from. Your box should look similiar to the image on the right. |
 |
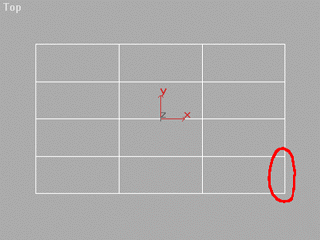 |
Set the selection type to Window Selection Apply an Edit Mesh modifier to the box. Set the Sub Object type to Face and from the top view select the lower right faces. The faces are circled in red on the image on the left. We will extrude these faces to create the index finger. |
| Now we are going to extrude the index finger. Click on the Extrude button and extrude the faces 60 units by typing in 60 in the Amount field. Extrude the faces again 50 units and then again 40 units. Your mesh should look similiar to the figure on the right. |
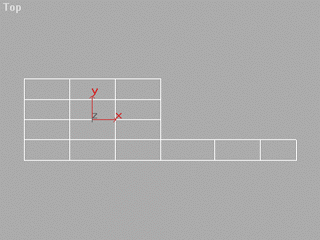 |
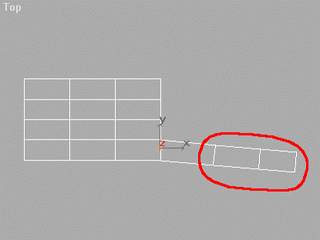
| We are now going to rotate the faces so we can give the finger some space. Select the faces as shown in image to the right and rotate them from the top view along the Z axis -5 degrees so the mesh is similiar to image to the right. |
 |
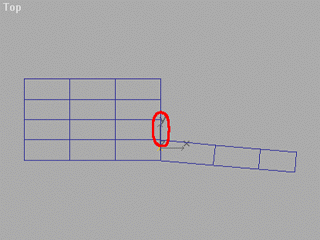
| Now we select the faces for the middle finger for extrusion. Select the faces as circled in red on the image to the left. |
 |
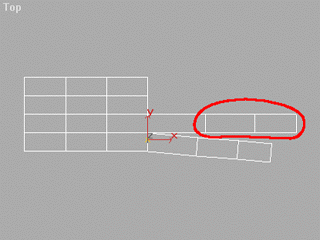
| Extrude them like we did for the index finger but use extrude distances of 70,60,50. Rotate the faces circled in red on the image to the right from the top along the Z axis about -2.5 degress as in image on the right. |
 |
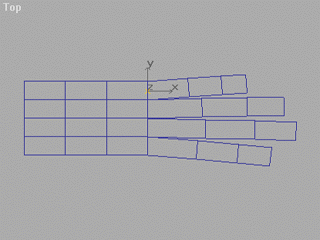 |
Now extrude extrude the ring and little fingers the same way we did the middle and index finger. Use extrude distances of 65,55, and 45 for the ring finger and for the little finger use 50, 40, and 30. Your mesh should now look like the image on the left. |
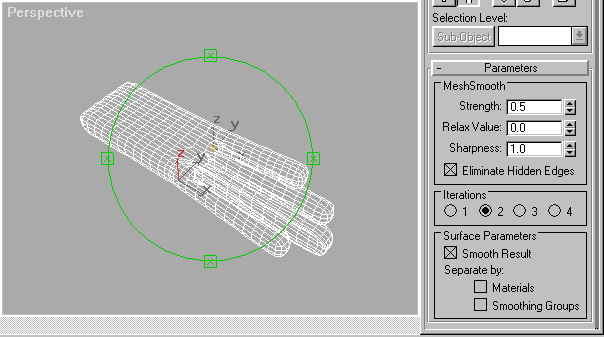 |
Turn off the Sub Object button in the Edit Mesh (if you don't turn off the Sub Object button MeshSmooth will only affect the selected Sub Objects) and now apply a MeshSmooth modifier to the mesh. Set the Iteration to 2 and turn on the Smooth Result option. You mesh should look like the image on the right. At this point the shape is still very rough. We need to reshape the finger making them rounder, add some knuckles, and a thumb. |
| Now we want to continue editing the mesh to refine the shape. Go back to the Edit Mesh option in the stack. Turn on the Sub Object button in the Edit Mesh and select the Face Sub Object. |
 |
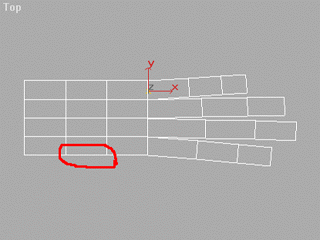
| Select the faces to extrude for the thumb. These faces are circled in read in the image to the right. |
 |
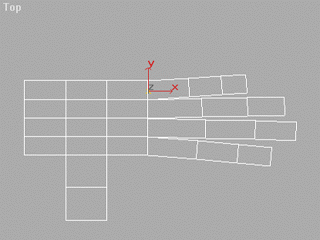
| Extrude these selected faces twice both distances of 40. Your mesh should now look like the image on the right |
 |
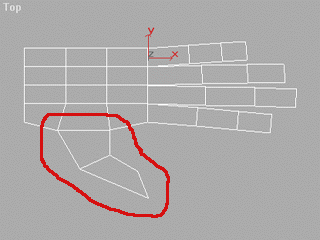
| Set the Sub Object mode to Vertex and edit the vertices to reshape the thumb so it looks like the image on the right. |
 |
| We will now reshape the fingers tips to make them smoother and taper a bit. Select the vertices on the index finger circled in red on the image. |
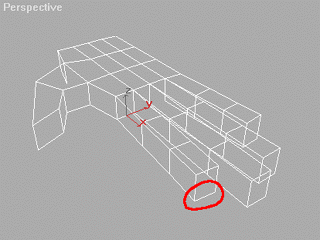 |
| Move these vertices toward the hand and up the Z axis a bit. Scale the vertices together a bit also. The tip of the index finger should look like the image. Repeat the process for each finger. |
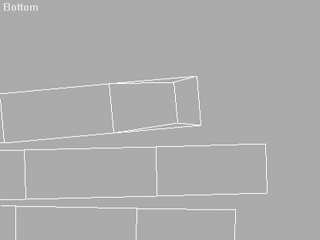 |
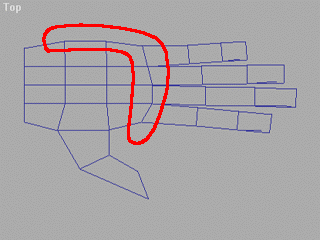 |
Now we will add the knuckles. First we need to add some curvature to the hand where the fingers meet the palm. Reshape the vertices circled in red to match the image by vertex editing. |
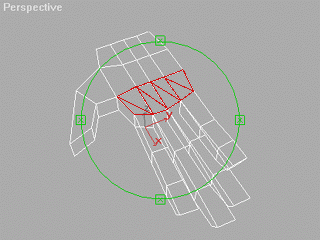 |
Set the Sub Object mode to Edge. Select the edges marked in red in the image makeing sure to grab the invisible edges that subdivide the faces. Hit the Visible button so you can see all the edges. |
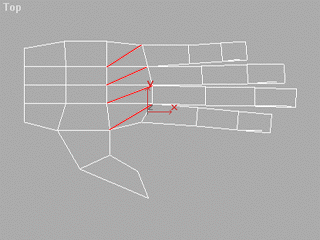 |
Divide the edges marked in red in the image and divide each one. |
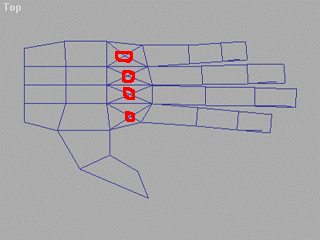 |
Set the Sub Object mode to Vertex and select the marked vertices and pull them up a little bit to form the knuckles. |
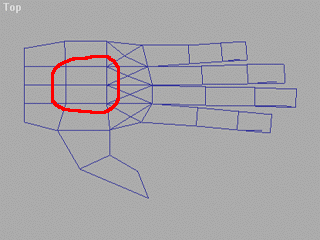 |
Select the vertices on the top of the hand. Make sure that you have not selected any vertices on the palm. Move the vertices up a bit so that we can take some of the flatness out of the hand. |
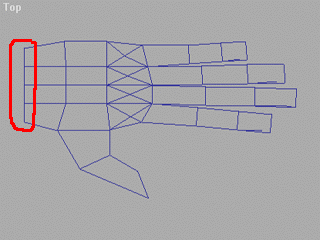 |
No select the vertices where the hand would meet the arm and scale these in. |
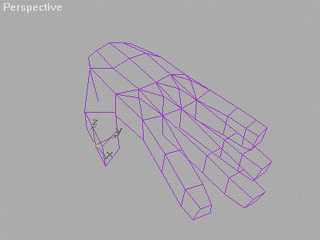 |
Turn off the Sub Object button and go to the MeshSmooth modifier that you applied earlier. You now should have a fairly decent looking hand. Other area that you should look at refining include the palm by making it a little concave and the knuckles on the finger. |