
| This tutorial goal is to how how to use CrossSection Modifier and the Surface Modifier to create a simple dust pan shape. It demonstrates how you can mix open and closed splines with the CrossSection modifier. You need Surface Tools from Digimation to do this tutorial. |

|
| We will create the shapes forming the handle first. From the Top view create create a 5 sided circular NGon that has a radius of 60 units and name it Poly01. Now go to the Front View and select Poly01. Set the Axis Constraint to the Y axis. While holding down the Shift Key move Poly01 up along the Y axis 100 units. Hit OK when the Clone Option dialog comes up. You should now have 2 objects that look like the image on the right. |
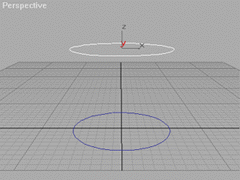
|
| Now we are going to create the shapes that will form the pan. Go to the top view. We are now going to create a line with 4 segments. Draw the line going from top to bottom so that is similiar to the one in the image on the right. Name this line Poly03. |
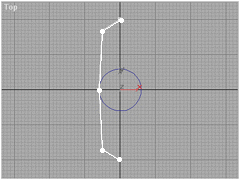
|
|
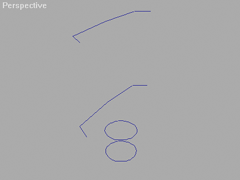
Go to the Front view and set the Axis Constraint to the Y axis if it is not already set. Move Poly03 up along the Y axis 200 units. Now we are going to clone another copy of Poly03. Select Poly03 if it not already in the Front view. Hold the Shift key move Poly03 up along the Y axis 300 units. Hit OK when the Clone Option dialog comes up. you should now have 4 splines shapes called Poly01, Poly02, Poly03, and Poly04. Your objects should look something like the image on the left. |
| Now we are going to use the CrossSection modifier to create the splines to form a skin, but first we need to attach all the splines together. Select Poly01 and apply an Edit Spline modifier. Turn off the Sub Object button and press the Attach button. Click on Poly02, then Poly03, and followed by Poly04. Right click to get out of the attach mode and apply the CrossSection modifier. Set the Spline Option for the CrossSection modifier to Linear. Your object should now look like the image on the right. |
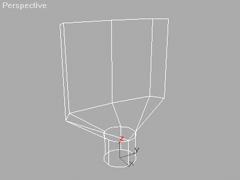
|
| Now we are going to smooth some of the vertices. Apply an Edit Spine modifier after the CrossSection modifier. From the Left view select the vertices marked in red on the image on the right. Now we are going to change the these vertices to smooth vertices versuses corners. Right click and hold down on one of the selected vertices. A popup list should appear and select the smooth option. |
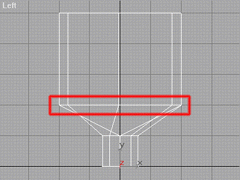
|
| Notice that edge outlined in red is still linear in shape. The reason for this is that Max splines cannot branch so a new spline must be started so there is no continuity across the spline. Select the vertex where the spline branches, it is circled in blue on the image in the right. Now turn the selected vertex into a Bezier Corner by right clicking on it and holding down and selecting the Bezier Corner option. |
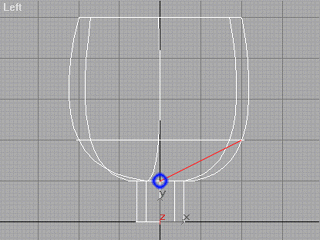
|
| Handles should now appear for the vertex. Move the handle circled in red on the image on the right down about 30 units. Now we need to to also adjust the vertex at the other end of the spline segment. This vertex is circled in blue. Zoom in on this vertex. |
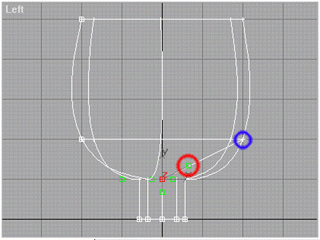
|
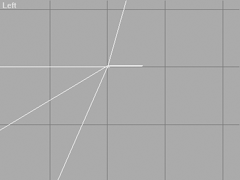
|
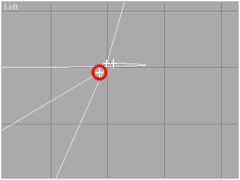
Your Left view should look something like the image on the left. We need to change the type of one the vertices but first we need to seperate them so we can get access to them. First turn off the 2d snap and select the vertex and move it a little bit to the upper left. Notice that there are actually several vertices here 3 to be exact. Go back and grab another vertex and move it a little bit to the upper right. |
| You should now see 3 vertices. Turn the vertex selected in red to Bezier Corner by right clicking on it and selecting the Bezier Corner option. Zoom the Left view out so you can see the whole shape again. There should be handles on the vertex. Move the handle of the vertex until the spline matches the opposite side. If a weld vertex dialog pops up answer no. If you answer yes the two end vertices will be welded together and can change the shape of the spline. |
|